Showing posts with label Cookies. Show all posts

April 29, 2026

Lemon Ricotta Cookies with Lemon Glaze

 RECIPE COURTESY OF GIADA DE LAURENTIIS

https://www.foodnetwork.com/recipes/giada-de-laurentiis/lemon-ricotta-cookies-with-lemon-glaze-recipe-1950241

Lemon Ricotta Cookies with Lemon Glaze

  • Level: Easy
  • Total: 2 hr 50 min
  • Prep: 15 min
  • Inactive: 2 hr 20 min
  • Cook: 15 min
  • Yield: 44 cookies

Cookies:

Glaze:

Directions

  1. Preheat the oven to 375 degrees F.
  2. Cookies:
  3. In a medium bowl combine the flour, baking powder, and salt. Set aside.
  4. In the large bowl combine the butter and the sugar. Using an electric mixer beat the butter and sugar until light and fluffy, about 3 minutes. Add the eggs, 1 at a time, beating until incorporated. Add the ricotta cheese, lemon juice, and lemon zest. Beat to combine. Stir in the dry ingredients.
  5. Line 2 baking sheets with parchment paper. Spoon the dough (about 2 tablespoons for each cookie) onto the baking sheets. Bake for 15 minutes, until slightly golden at the edges. Remove from the oven and let the cookies rest on the baking sheet for 20 minutes.
  6. Glaze:
  7. Combine the powdered sugar, lemon juice, and lemon zest in a small bowl and stir until smooth. Spoon about 1/2-teaspoon onto each cookie and use the back of the spoon to gently spread. Let the glaze harden for about 2 hours. Pack the cookies into a decorative container.

Eliza's Make Ahead Chocolate Chip Cookies (for the freezer)

 Eliza's Make Ahead Chocolate Chip Cookies (for the freezer)


1 c butter

1 c sugar

1 c brown sugar, packed

2 eggs

2 tsp vanilla

3 c flour

1 tsp salt

1 tsp baking soda

1 c chocolate chips


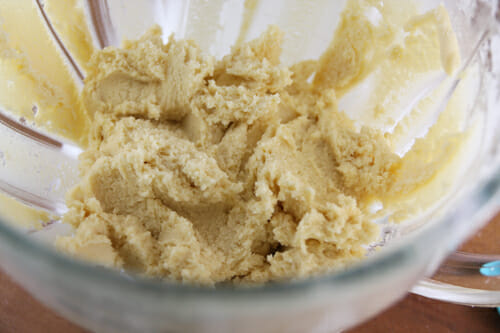
Cream butter and sugars together. Add eggs and vanilla. Mix dry ingredients together, then mix in wet. Add chocolate chips. Freeze. Bake completely frozen at 350* for 10min. Let cool on pan.

November 30, 2025

Candy Corn Sugar Cookies


How to Make Candy Corn Sugar Cookies

  1. Start with a batch of sugar cookies and divide your dough into three equal portions.  Since these aren’t going to be slathered in frosting, I add extra extract to my dough, like double vanilla and some almond too.  I actually tried a new dough recipe that I loved and I’ll tell you more about later.  I think this would be so cute and yummy with shortbread too.
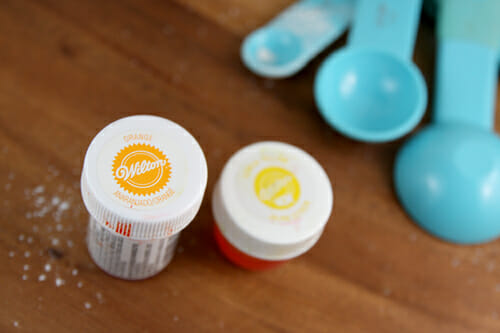
  2. You’ll leave one of those portions as is (this will be the white part of the candy corn) and then you’ll color one of the remaining portions yellow and one orange.  I always recommend using gel or paste food coloring, but you could use liquid as well.  Wilton brand gel color is pretty easily accessible; grab it off Amazon, or you can find it at craft stores like Michaels.
  3. And here’s a little tip.  When you’re coloring multiple things in a recipe, start from lightest to darkest and then you won’t have to wash everything in between.  In this case, do your yellow first, because a tiny bit of yellow mixed into the orange batch you’ll do after won’t make any difference, but if you get orange in your yellow it could ruin the yellow.  Make sense?
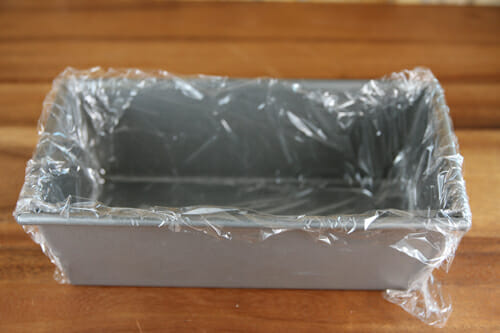
  4. Now you’ll just need a loaf pan.  Any size works, exactness isn’t important here, you can fudge around like you’ll see I did in a minute.  But if you have an option between a larger and a smaller pan, you might want the smaller one.  Just grab a big piece of plastic wrap and place it in the pan.
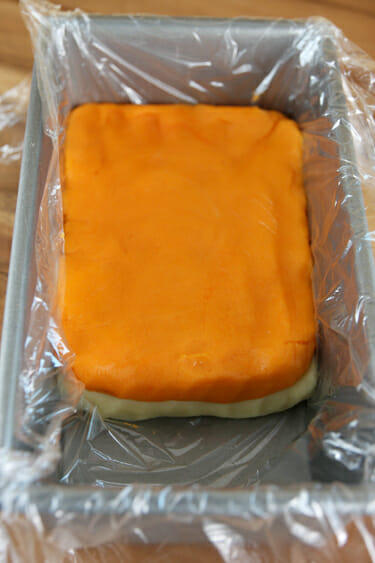
  5. The first thing you’ll do is place your uncolored cookie dough in the bottom of the pan and spread it out as flat as you can.  It helps to lay a sheet of plastic over the dough and smooth it over with your fingers.  Remove the plastic and then add the layer of orange dough and repeat.
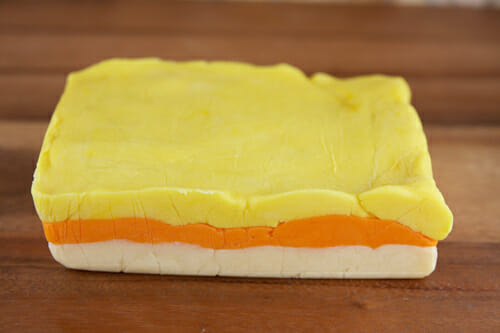
    You’re going to have 3 layers here and the height of your dough will determine the size of your cookies.  In my case, I made a small batch of cookie dough, and if I spread it out all the way in my large loaf pan each layer would be so thin that it would produce teeny tiny cookies.  So that’s why you’ll notice I didn’t spread my dough to the very end.  Shoot for about 3/4 inch per layer at least.  You can always make larger cookies if desired.
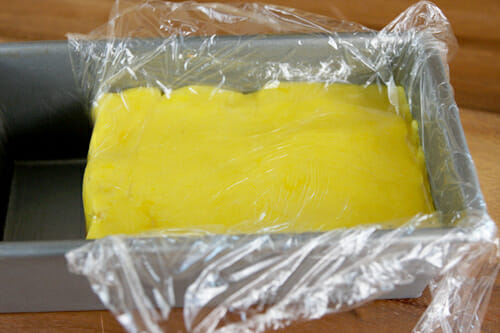
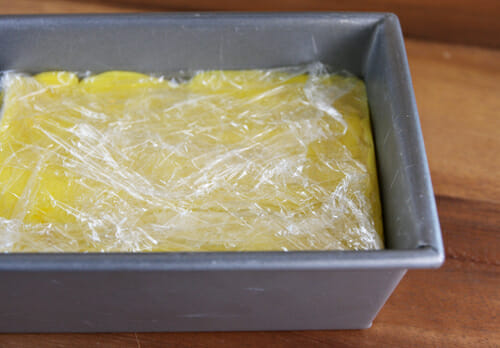
  6. Finally place your last layer of dough on top, you can see here how I use the plastic to smooth it, which gets it nice and flat.
  7. After the top layer, just wrap the plastic all the way around the dough and place the pan in the refrigerator for a few hours, or the freezer for about 30-60 minutes.  You’ll want this very chilled, all the way through so it cuts nice and smooth.
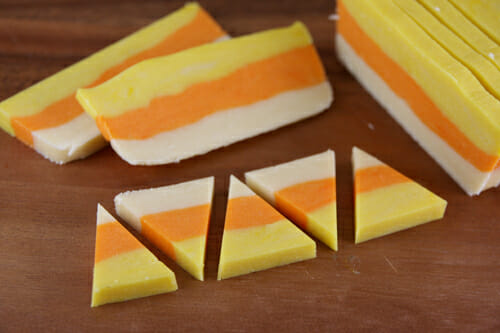
  8. When it’s done chilling, unwrap and you should have a nice layered loaf of dough.
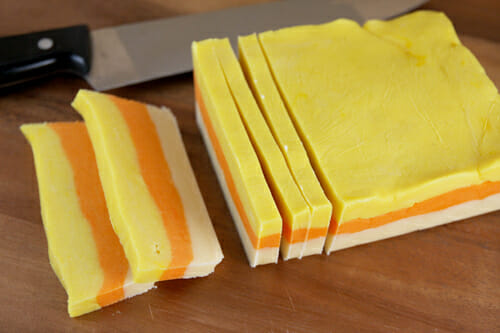
  9. Now slice that loaf into about 1/4-inch slices, working a few at at time.
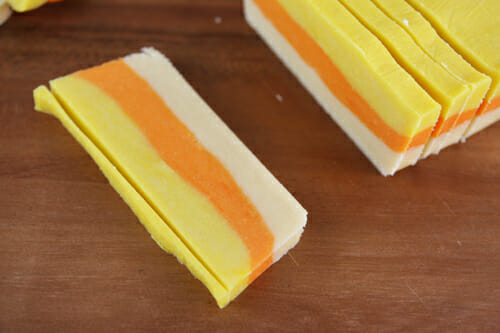
  10. To make my cookies look nicer, I use a sharp knife and make a nice clean cut across the uneven top.
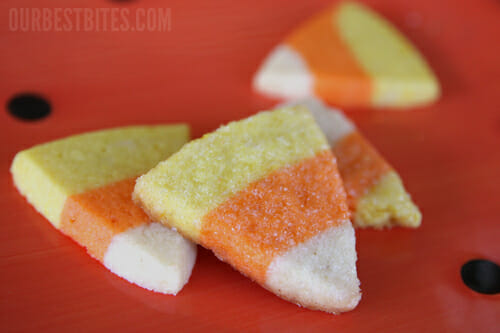
  11. Now just slice your rectangle into triangle pieces.  See?  Magical candy corn!  You’ll have some “scrap” pieces of dough from the ends of your rectangle and the top sliver you trimmed off.  Bake those up too, they still taste great!
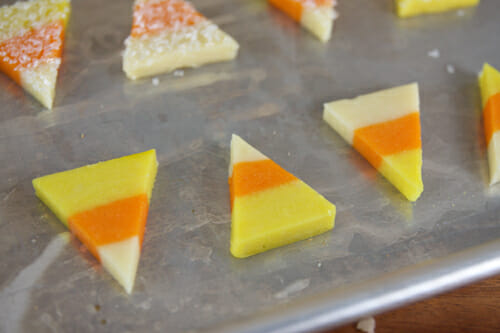
  12. Pop them on your baking sheet.
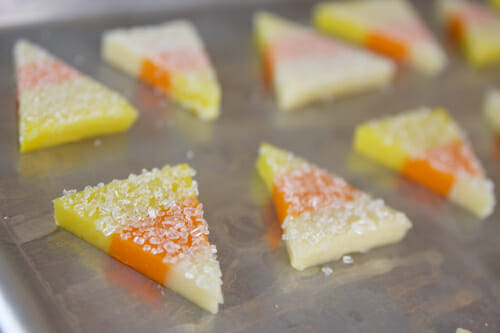
    And if you want, you can sprinkle them with sugar, or coarse sprinkles first.
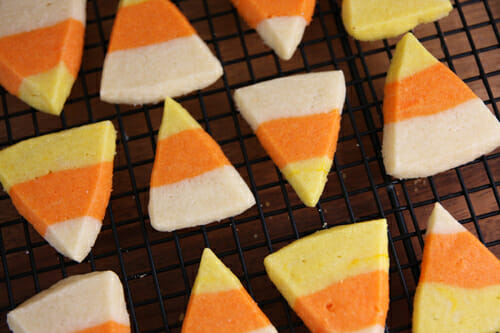
  13. Then just bake according to your sugar cookie recipe.
    I like the ones with sugar the best because they look sort of sparkly.
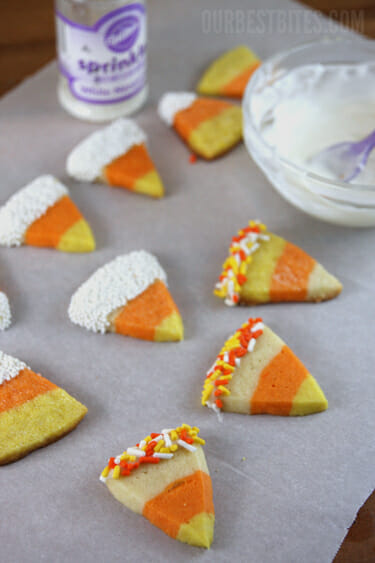
    Another fun thing you can do is dip the ends in almond bark or white chocolate.  Sometimes I just dip the white part (which will be on the top of some cookies and on the bottom of others) and then cover it with white sprinkles.  This isn’t complicated, and it really is fast to do if you want to dress them up a little.
    They’re also cute with just the tippy tops dipped.  I found those orange, yellow, and white sprinkles at Target.
    Anyway you do it, these have cute, cute, cute written all over them!